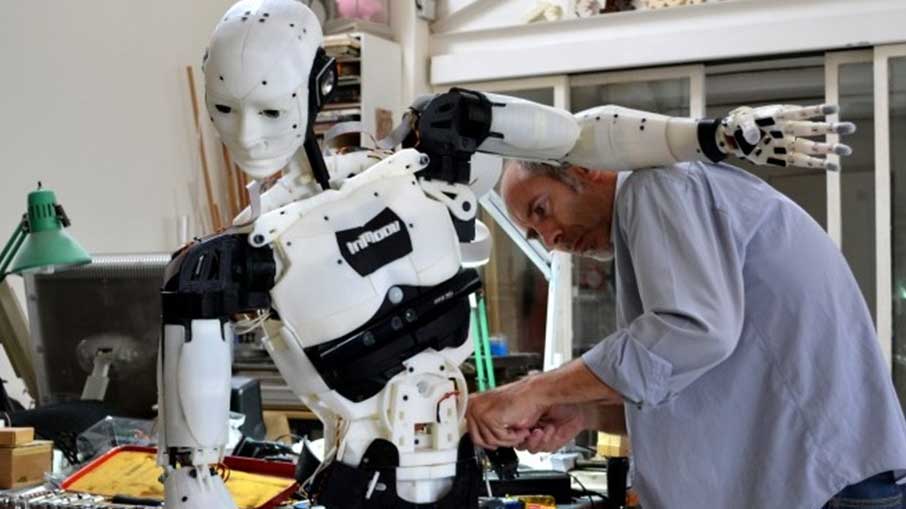
INMOOV LEAP MOTION CONTROL
To have a little more fun with our InMoov Robot we started to investigate immersion control via Leap Motion. From a hardware perspective, the Leap Motion Controller is actually pretty darn simple. The heart of the device consists of two cameras and three infrared LEDs. These track infrared light with a wavelength of ~850 nanometers, which is outside the visible light spectrum. The data representation takes the form of a grayscale stereo image of the near-infrared light spectrum, separated into the left and right cameras. Typically, the only objects you’ll see are those directly illuminated by the Leap Motion Controller’s LEDs. However, incandescent light bulbs, halogens, and daylight will also light up the scene in infrared.
Once the image data is streamed to the application, it’s time for some heavy mathematical lifting. Despite what you might think, the Leap Motion Controller doesn’t generate a depth map – instead it applies advanced algorithms to the raw sensor data. The Leap Motion Service is the software on that can be connected via SDK which processes the images. After compensating for background objects (such as heads) and ambient environmental lighting, the images are analyzed to reconstruct a 3D representation of what the device sees.

Next, the tracking layer matches the data to extract tracking information such as fingers and tools. The Leap Motion tracking algorithms interpret the 3D data and infer the positions of occluded objects. Filtering techniques are applied to ensure smooth temporal coherence of the data. The Leap Motion Service then feeds the results – expressed as a series of frames, or snapshots, containing all of the tracking data – into a transport protocol.
Through this protocol, the service communicates with the Leap Motion Control Panel, as well as native and web client libraries, through a local socket connection (TCP for native, WebSocket for web). The client library organizes the data into an object-oriented API structure, manages frame history, and provides helper functions and classes. From there, the application logic ties into the Leap Motion input, allowing a motion-controlled interactive experience.
Now, in order to get Leap Motion and InMoov working properly you need to:
1) Install the Leap Motion Software from here : http://www.leapmotion.com/setup
2) Install the LeapMotion2 service from the MyRobotLab Runtime tab MRL VERSION 1.0.95 or higher
Once you’ve got your libraries and SDKs setup you can run this simple script to make the Leap Motion track your fingers and then move InMoov fingers accordingly. This will start to get your basic controls running and experience a 1 to 1 kinetic reflection from the InMoov robot. Now instead of just programming control based reactions (via the Kinnect Camera and Hercules WebCams) you can build immersive projects like the Robots for Good Project @ http://www.robotsforgood.com/.
inmoov =Runtime.createAndStart("inmoov","InMoov")inmoov.startRightHand("COM5")inmoov.rightHand.index.setMinMax(30,89)inmoov.rightHand.thumb.setMinMax(30,60)inmoov.rightHand.majeure.setMinMax(30,89)inmoov.rightHand.ringFinger.setMinMax(30,90)inmoov.rightHand.pinky.setMinMax(30,90)sleep(1)inmoov.rightHand.startLeapTracking()# inmoov.rightHand.stopLeapTracking() |

And there ya go, your very own real-life avatar… now, once we can get the leg apparatuses figured out we’ll be able to send out ‘ole InMoov on a walk around the block as an augmented reality experience!


