In the last few articles, we have been working with React Native and have learned how to use some of React Native’s built in component. Most recently, we learned how to navigate between different screens using React Navigation.
One thing we haven’t covered yet, is getting access to the camera and camera roll in a React Native app. Now a days, it seems like every app has access to the phone’s camera. It is used to take photos, to scan QR codes, augmented reality and much more. A lot of these apps can also access the phone’s camera roll to either save photos or allow a user to select a photo from the camera roll. Therefore, in this article, we will be learning how to gain access to the camera and camera roll.
Getting Started
I will be working on a Mac, using Visual Studio Code as my editor and will run the app on the iOS simulator. If you are using Windows or are targeting Android, I will test the app on the Android emulator at the end of the article.
If you are working with Expo, we will be creating a different project after completing the React Native project.
Let’s begin by creating a new React Native project. I will be calling this project, RNCamera. Run the following code in the Terminal.
react-native init RNCamera
Now that we have our project created, let’s go create a src folder to hold our screens and components folders. Here is how our project will be structured.
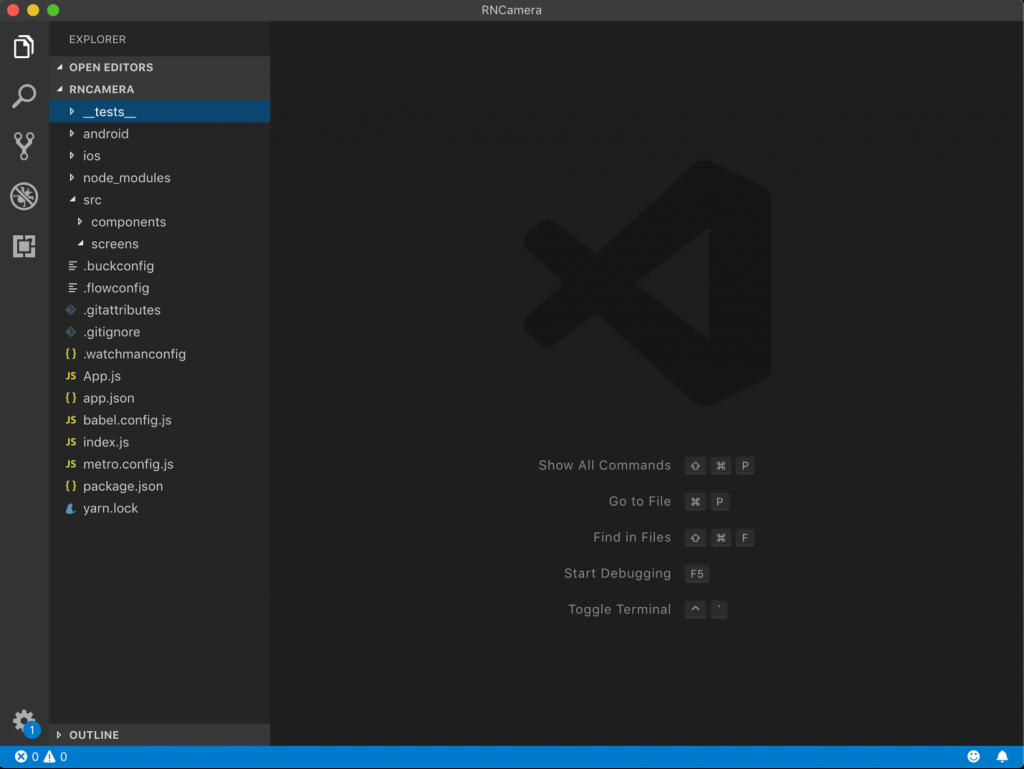
Once you have the folders created, create a new file called Main.js in the screens folder. Then we need to make changes to the App.js file. Here is the code for App.js and Main.js
App.js
import React, { Component } from 'react';

import Main from './src/screens/Main';

class App extends Component {

render() {

return <Main />

}

}

export default App;
Main.js
import React, { Component } from 'react';

import { StyleSheet, View } from 'react-native';

const styles = StyleSheet.create({

container: {

flex: 1

}

})

class Main extends Component {

render() {

return (

<View style={styles.container} />

)

}

}

export default Main;
The plan here will be to have a one-page application consisting of two parts. The first part is going to be an image component. The second component will be a button that when pressed, will allow the user to either take or choose an image from their phone.
Let’s first start with the image component. Create a new file called PhotoComponent.js, inside of the components folder. Then import this new file in Main.js, it will look like this.
Main.js
import React, { Component } from 'react';

import { StyleSheet, View } from 'react-native';

import PhotoComponent from '../components/PhotoComponent'

const styles = StyleSheet.create({

container: {

flex: 1

}

})

class Main extends Component {

render() {

return (

<View style={styles.container}>

<PhotoComponent />

</View>

)

}

}

export default Main;
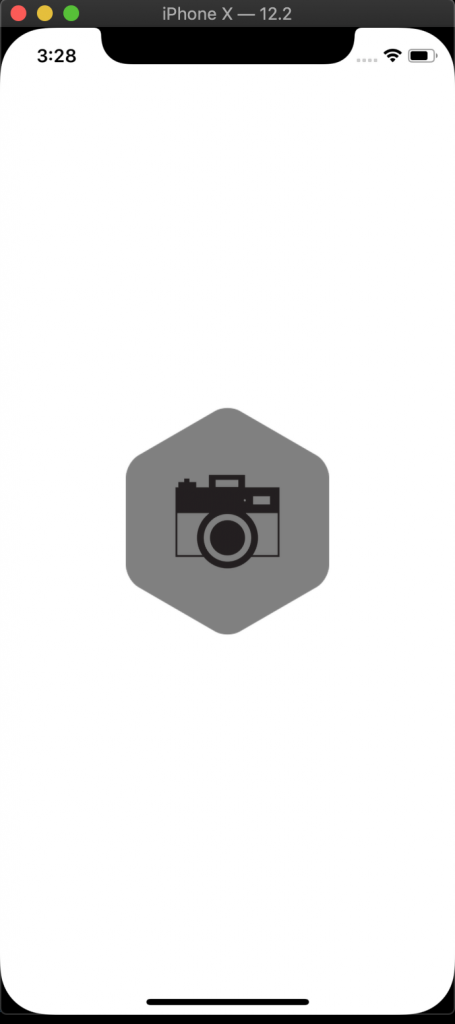
Now, in PhotoComponent.js, let’s use React Native’s Image component to display an image of a camera. I downloaded two images and stored them inside of a new folder I created, called resources. The first image is one of a hexagon, which I will use as a background, and the second is that of a camera, which will be on top of the hexagon.
Here is the code for the PhotoComponent.js file.
import React, { Component } from 'react';

import { Dimensions, Image, StyleSheet, View } from 'react-native';

const width = Dimensions.get('window').width;

const largeContainerSize = width / 2;

const largeImageSize = width / 4;

const styles = StyleSheet.create({

container: {

flex: 3,

justifyContent: 'center',

alignItems: 'center',

paddingVertical: 10

},

containerSize: {

width: largeContainerSize,

height: largeContainerSize,

alignItems: 'center',

justifyContent: 'center',

tintColor: 'grey'

},

imageSize: {

width: largeImageSize,

alignItems: 'center',

justifyContent: 'center',

position: 'absolute'

},

})

class PhotoComponent extends Component {

render() {

return (

<View style={styles.container}>

<Image

resizeMode='contain'

style={styles.containerSize}

source={require('../resources/background.png')}

/>

<Image

resizeMode='contain'

style={styles.imageSize}

source={require('../resources/camera.png')}

/>

</View>

)

}

}

export default PhotoComponent;
The first two lines are imports we will be using from React and React Native.
The one import that we haven’t used before is Dimensions. This will allow us to get the dimensions of the device the app is running on, both height and width. We will use Dimensions to size our images dynamically based on the user’s screen size.
The next couple lines are constants that will be used to size the images. The first one gets the width of the screen. The next line, const largeContainerSize, is set to half the width of the screen and it will be used for the background image. The next one, largeImageSize, is set to a quarter of the screen’s width.
Then we have our styling. Our container has a flex value of 3 because I want this component to take up most of the screen. In the containerSize, which is the styling for the background image, we give it a tintColor of grey. This changes the color of the original image. And finally, in imageSize, which is the styling for the camera image, we give it a position of absolute because we want it to lay on top of the background image. The other properties that I didn’t mention, are to used to center the images, give it some padding and give it a specific size.
Then we have the class. Here we are returning a View with two Images. The first image is the background image and the second is the camera image.
Now save the files and run the app using the following command.
react-native run-ios
Depending on the images you chose, you may have something like this.
Great! Time to add a button.
Begin by creating a button component called, ButtonComponent.js in the components folder. Then import it in Main.js and add it in the render function, below the PhotoComponent.
Our button will be using an icon, which we will get from a third party library. We will be using react-native-vector-icons and to do so we must first install it, then link it.
To install react-native-vector-icons, run the following command while inside of your project directory.
npm install --save react-native-vector-icons
Once installed, run the following command to link it.
react-native link react-native-vector-icons
With that out the way, let’s work on ButtonComponent.js file. We will import from React and React Native. Import Icon from react-native-vector-icons. Then comes the styling and the class. The class consist of a TouchableOpacity, Icon and View components. The View will be used to create a round gray background for the button. Here is the code.
ButtonComponent.js
import React, { Component } from 'react';

import { StyleSheet, TouchableOpacity, View } from 'react-native';

import Icon from 'react-native-vector-icons/FontAwesome';

const styles = StyleSheet.create({

buttonContainer: {

flex: 1,

justifyContent: 'center',

alignItems: 'center'

},

buttonBorder: {

borderColor: 'grey',

borderWidth: 1,

justifyContent: 'center',

alignItems: 'center',

borderRadius: 35,

width: 70,

height: 70,

backgroundColor: 'grey'

},

})

class ButtonComponent extends Component {

render() {

return (

<TouchableOpacity style={styles.buttonContainer}>

<View style={styles.buttonBorder}>

<Icon

name='plus'

size={35}

color='white'/>

</View>

</TouchableOpacity>

)

}

}

export default ButtonComponent;
Save the files and reload the app. If you come upon any errors, close the Metro Bundler and run the project again.
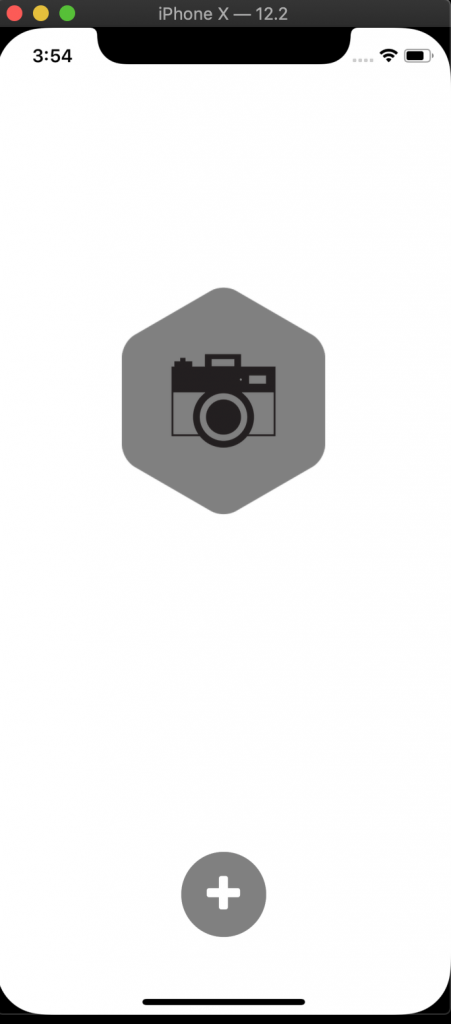
Button looks good. We used the plus icon from FontAwesome and if you want to use different icon, go to http://fontawesome.com/icons?d=gallery to check out their options.
Time to gain access to the camera through React Native. We will be installing react-native-image-picker, which is, “A React Native module that allows you to use native UI to select a photo/video from the device library or directly from the camera.” You can learn more about it at http://github.com/react-native-community/react-native-image-picker.
Begin by installing react-native-image-picker. Use the following command in the Terminal.
npm install --save react-native-image-picker
Once installed, link it by using the following command.
react-native link react-native-image-picker
Now that it is linked, we need to go into the Android and iOS native code to ask the user for permission to take photos or to use an image from their camera roll.
Let’s begin with iOS. Inside of the iOS folder, open the RNCamera folder and open the info.plist file. In this file add the following between the <dict> tags.
<key>NSPhotoLibraryUsageDescription</key>

<string>$(PRODUCT_NAME) would like access to your photo gallery</string>

<key>NSCameraUsageDescription</key>

<string>$(PRODUCT_NAME) would like to use your camera</string>

<key>NSPhotoLibraryAddUsageDescription</key>

<string>$(PRODUCT_NAME) would like to save photos to your photo gallery</string>
This code will ask iOS users for permission. Time to do the same for Android users. Head to the Android folder and the AndroidManifest.xml file will be under app/src/main. In it add the following code, which can be added below the code asking for user permission to access the internet at the top of the file.
<uses-permission android:name="android.permission.CAMERA" />

<uses-permission android:name="android.permission.WRITE_EXTERNAL_STORAGE"/>
To learn more about the setup, please visit http://github.com/react-native-community/react-native-image-picker
With react-native-image-picker installed and the permission code added, we can now add it to our Main.js file.
We will begin by importing react-native-image-picker, using constructor and creating a state, creating a function for the image picker and passing the onPress prop to ButtonComponent. Here is the code.
Main.js
import ImagePicker from "react-native-image-picker";

const styles = StyleSheet.create({

container: {

flex: 1

}

})

class Main extends Component {

constructor(props) {

super(props)

this.state = {

uploadSource: null

}

}

selectPhotoTapped() {

const options = {

quality: 1.0,

maxWidth: 200,

maxHeight: 200,

storageOptions: {

skipBackup: true

}

};

ImagePicker.showImagePicker(options, response => {

console.log("Response = ", response);

if (response.didCancel) {

console.log("User cancelled photo picker");

} else if (response.error) {

console.log("ImagePicker Error: ", response.error);

} else {

let source = { uri: response.uri };

this.setState({

uploadSource: source

});

}

});

}

render() {

return (

<View style={styles.container}>

<PhotoComponent />

<ButtonComponent onPress={this.selectPhotoTapped.bind(this)}/>

</View>

)

}

}
The selectPhotoTapped() function, starts with a constant, option, which sets the max width and max height of the image. Next, we have ImagePicker.showImagePicker, which opens the image picker and returns console logs if the user cancels it or there is an error. If they choose or take a picture, then the state is updated to have upLoadSource equal to the source of the image. Then this function is passed as a prop to ButtonComponent, so that the TouchableOpacity button has access to the function.
Now go to ButtonComponent.js and pass the onPress prop to the TouchableOpacity component. Also, since this component does not use state or lifecycle functions, we can make a stateless function.
ButtonComponent.js
import React, { Component } from 'react';

import { StyleSheet, TouchableOpacity, View } from 'react-native';

import Icon from 'react-native-vector-icons/FontAwesome';

const styles = StyleSheet.create({

buttonContainer: {

flex: 1,

justifyContent: 'center',

alignItems: 'center'

},

buttonBorder: {

borderColor: 'grey',

borderWidth: 1,

justifyContent: 'center',

alignItems: 'center',

borderRadius: 35,

width: 70,

height: 70,

backgroundColor: 'grey'

},

})

const ButtonComponent = ({ onPress }) => (

<TouchableOpacity onPress={onPress} style={styles.buttonContainer}>

<View style={styles.buttonBorder}>

<Icon

name='plus'

size={35}

color='white'/>

</View>

</TouchableOpacity>

)

export default ButtonComponent;
Save the files and reload the app. If you run into any issues, try closing the Metro Bundler and run the react-native run-ios command again.
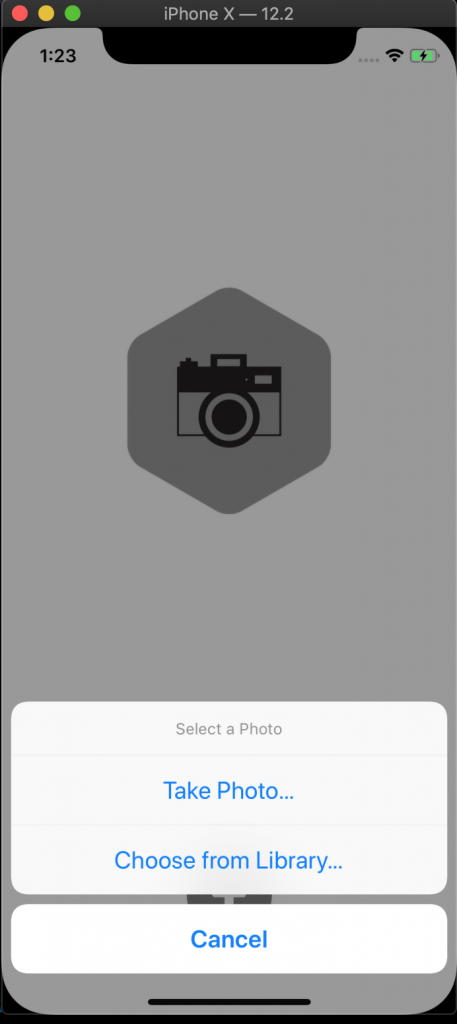
Great! The option to take a photo or choose one from the library appears. But if we pick an image from the library will it work? Let’s try it. Press the Choose from Library button and this will happen.
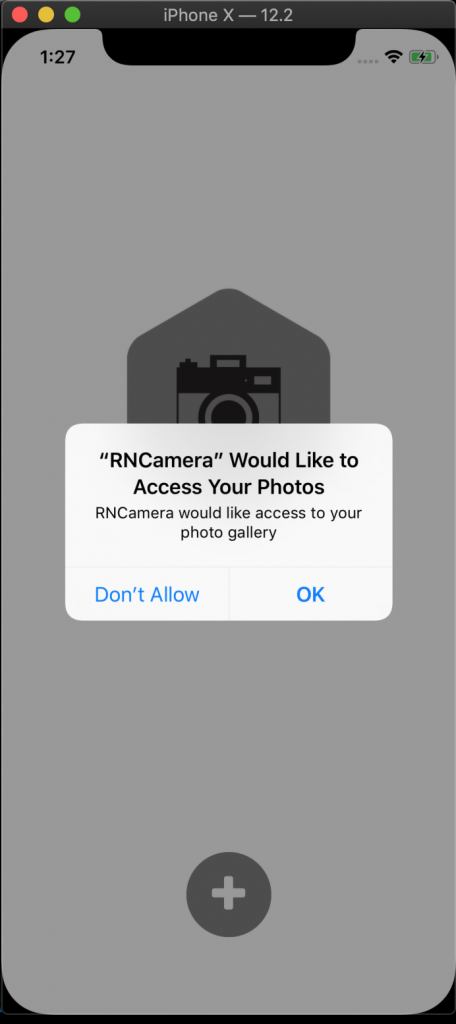
That’s a good sign. It shows us that the permission code we used worked. Let’s allow it and continue. Here is the next screen.
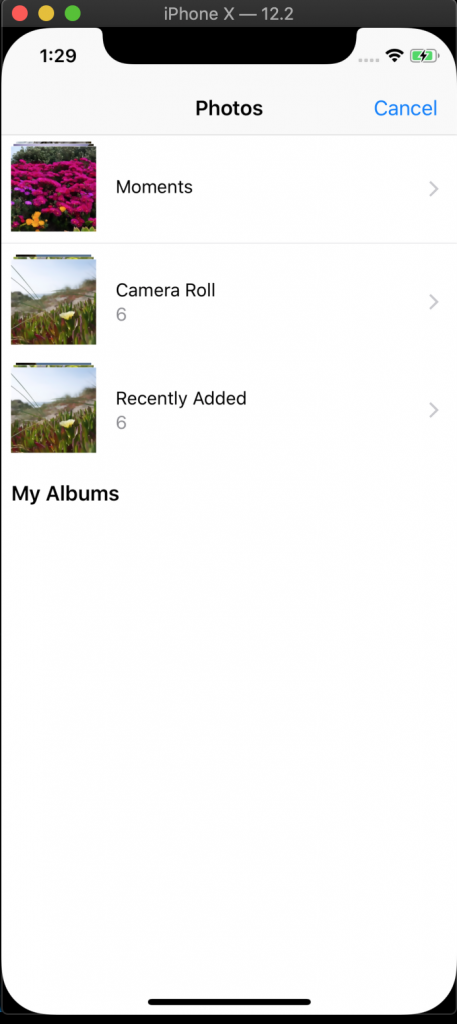
I’m going to pick the first photo in the Camera Roll folder.
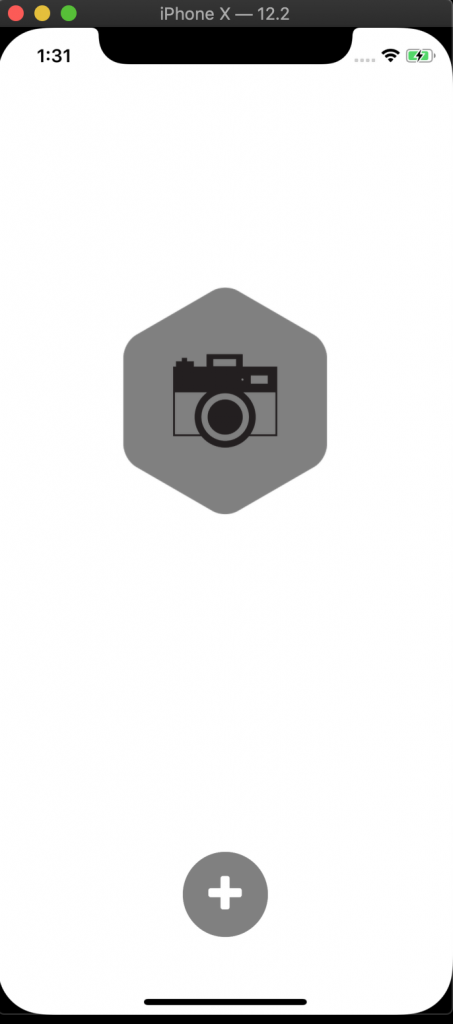
Wait, nothing happened. This is because we are not passing upLoadSource to the PhotoComponent. Before we continue, let’s make sure that upLoadSource has something set to it. To check that upLoadSoucre has a value set to it, we will use console log. Add this line of code in the selectPhotoTapped function, right after setting the state.
Main.js
} else {

let source = { uri: response.uri };

this.setState({

uploadSource: source

);

console.log(this.state.uploadSource)

}
Save the file. Then in the simulator, press both the Command and D buttons to option up the React Native Development options. If you are using the Android emulator on a Mac, press Command and M. If you are using the Android emulator on a Windows computer, press Control and M. Then select Debug JS Remotely, and this will open up a tab in Google Chrome with the URL http://localhost:8081/debugger-ui. If you do not have Google Chrome, please download it or head over to, http://facebook.github.io/react-native/docs/debugging, for other options.
Once the Google Chrome tab opens up, select View from the top menu and then select Developer/Developer Tools. With the debugger now running, reload the app and select an image from the camera roll and see what is displayed in the console.
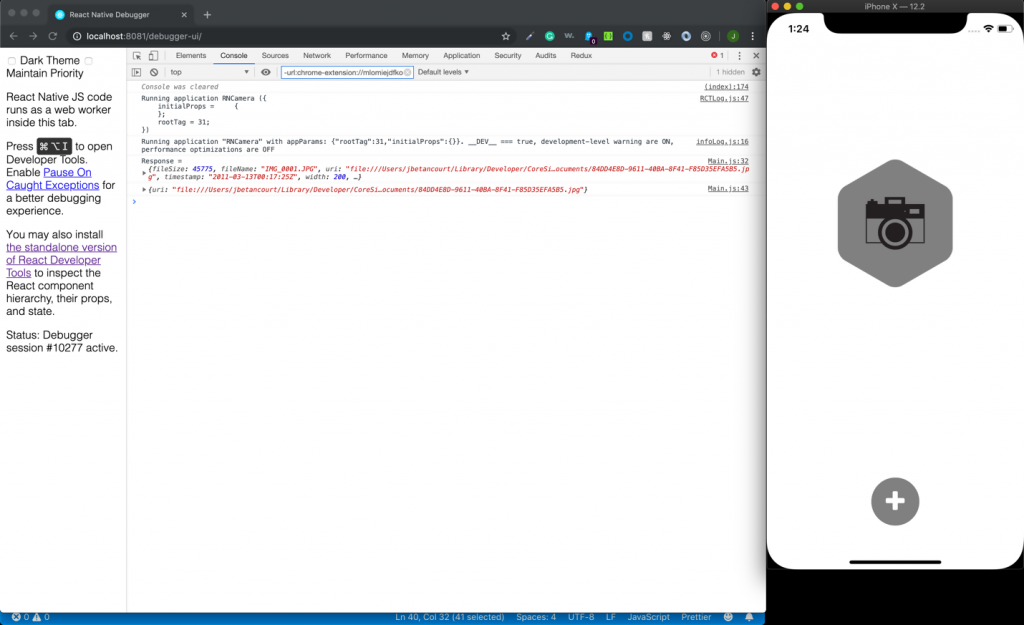
Awesome! We see that our upLoadSource state has the url of the image. We also see the other console log I added which was meant to show more information about the image is displaying too. The other console logs are meant to show only if there are errors.
Now we should pass upLoadSource to our PhotoComponent. You can stop debugging remotely for now by pressing Command and D, Command and M, or Control and M, then selecting Stop Remote JS Debugging.
Pass the state of uploadSource to the PhotoComponent.
Main.js
<View style={styles.container}>

<PhotoComponent uri={this.state.uploadSource} />

<ButtonComponent onPress={this.selectPhotoTapped.bind(this)}/>

</View>
Then in PhotoComponent, we will check to whether we have a source for an image. To do this we will use the conditional operator “?”.
PhotoComponent.js
renderDefault() {

return (

<View style={styles.container}>

<Image

resizeMode='contain'

style={styles.containerSize}

source={require('../resources/background.png')}

/>

<Image

resizeMode='contain'

style={styles.imageSize}

source={require('../resources/camera.png')}

/>

</View>

)

}

renderImage() {

return (

<View style={styles.container}>

<Image

resizeMode='contain'

style={styles.imageSize}

source={this.props.uri}/>

</View>

)

}

render() {

const displayImage = this.props.uri ? this.renderImage() : this.renderDefault()

return (

<View style={styles.container}>

{displayImage}

</View>

)

}
Inside of the render() function we create a variable named displayImage and it is equal to a conditional operator. If this.props.uri is not null and has a value, then the renderImage() function is called, else the renderDefault() function is called. This variable, displayImage, replaces the code we had between the View tags in the render() function, which was the background image and the camera image. The background image and camera image, are placed in the renderDefault() function. The renderImage() function is where our chosen image will render.
Save the files and reload the app then add a photo from the phone’s camera roll.
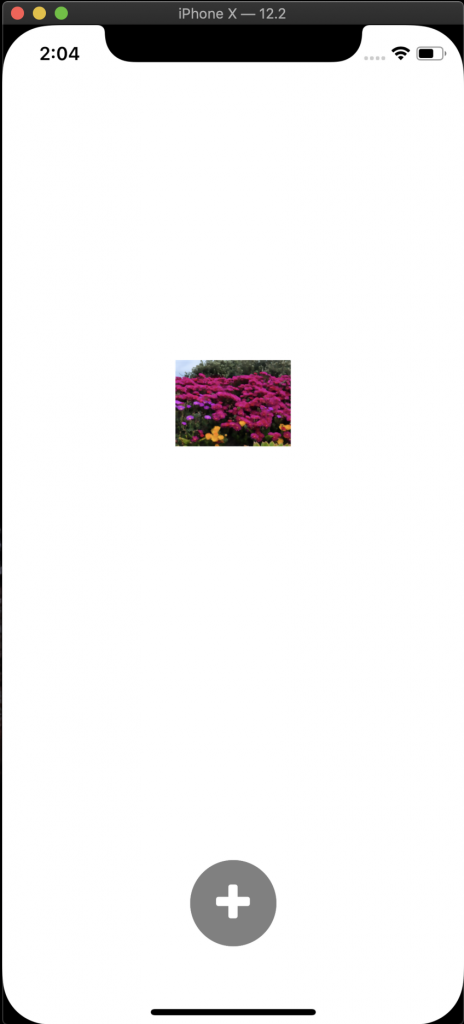
Ok, not perfect but the image I chose did display. Let’s make a new set of styles to make this image a bit bigger.
PhotoComponent.js
chosenImage: {

width: width / 1.25,

height: width / 1.25,

alignItems: 'center',

justifyContent: 'center',

position: 'absolute'

}

renderImage() {

return (

<View style={styles.container}>

<Image

resizeMode='contain'

style={styles.chosenImage}

source={this.props.uri}/>

</View>

)

}
The styling is very similar to the camera image, but we are dividing by 1.25 instead of 4, which will make our chosen image much bigger.
Save the files, reload the app and try it again.
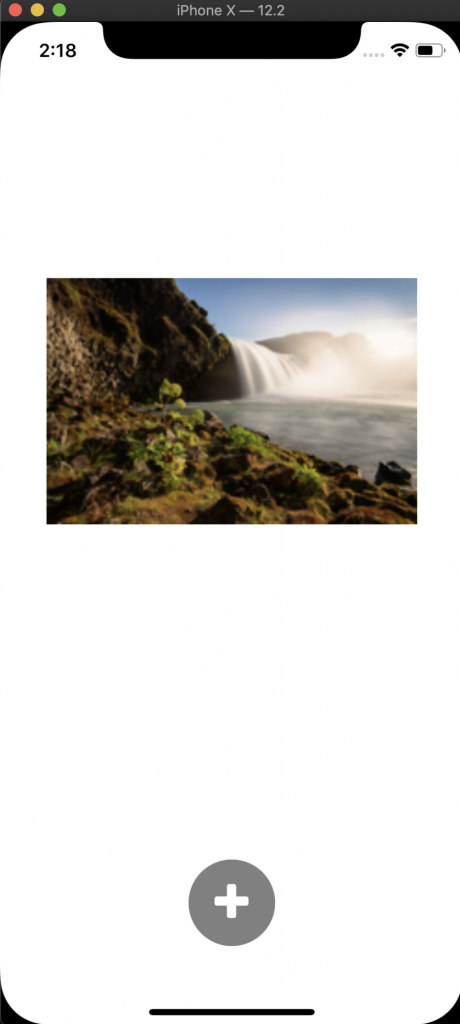
That’s much better! The image looks great and we can replace it by pressing on the plus button and choosing another image.
I think it a good time to test this code on Android. Begin by opening the Android emulator, then run the following command.
react-native run-android
It seems like the Android emulator does not have any photos in the camera roll, but you are able to take a photo. This is the result of taking a photo.
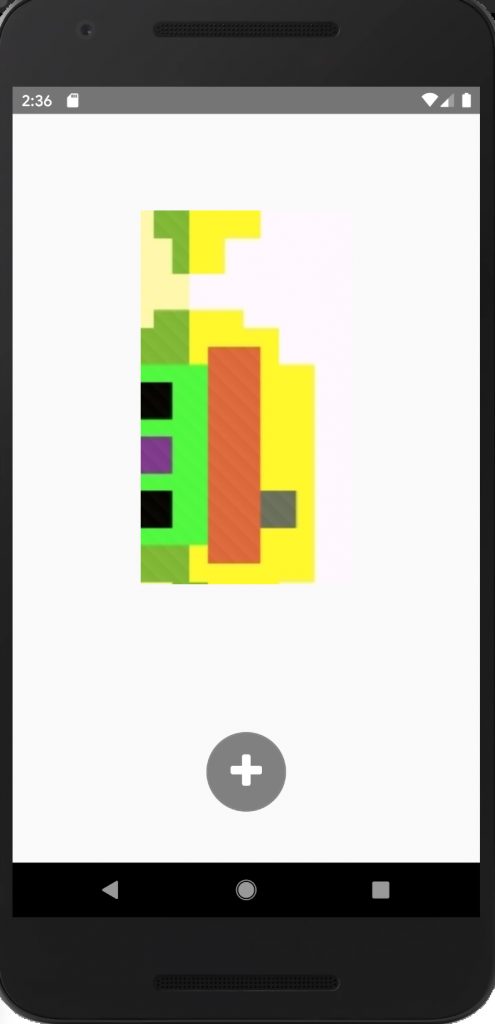
Great! It works for Android too. And if you try to select an image from the camera roll, you will see that the image we took is saved there.
Before we get into Expo, here is the code for RNCamera project we created.
Main.js
import React, { Component } from 'react';

import { StyleSheet, View } from 'react-native';

import PhotoComponent from '../components/PhotoComponent';

import ButtonComponent from '../components/ButtonComponent';

import ImagePicker from "react-native-image-picker";

const styles = StyleSheet.create({

container: {

flex: 1

}

})

class Main extends Component {

constructor(props) {

super(props)

this.state = {

uploadSource: null

}

}

selectPhotoTapped() {

const options = {

quality: 1.0,

maxWidth: 200,

maxHeight: 200,

storageOptions: {

skipBackup: true

}

};

ImagePicker.showImagePicker(options, response => {

console.log("Response = ", response);

if (response.didCancel) {

console.log("User cancelled photo picker");

} else if (response.error) {

console.log("ImagePicker Error: ", response.error);

} else {

let source = { uri: response.uri };

this.setState({

uploadSource: source

});

console.log(this.state.uploadSource)

}

});

}

render() {

return (

<View style={styles.container}>

<PhotoComponent uri={this.state.uploadSource} />

<ButtonComponent onPress={this.selectPhotoTapped.bind(this)}/>

</View>

)

}

}

export default Main;
ButtonComponent.js
import React from 'react';

import { StyleSheet, TouchableOpacity, View } from 'react-native';

import Icon from 'react-native-vector-icons/FontAwesome';

const styles = StyleSheet.create({

buttonContainer: {

flex: 1,

justifyContent: 'center',

alignItems: 'center'

},

buttonBorder: {

borderColor: 'grey',

borderWidth: 1,

justifyContent: 'center',

alignItems: 'center',

borderRadius: 35,

width: 70,

height: 70,

backgroundColor: 'grey'

},

})

const ButtonComponent = ({ onPress }) => (

<TouchableOpacity onPress={onPress} style={styles.buttonContainer}>

<View style={styles.buttonBorder}>

<Icon

name='plus'

size={35}

color='white'/>

</View>

</TouchableOpacity>

)

export default ButtonComponent;
PhotoComponent.js
import React, { Component } from 'react';

import { Dimensions, Image, StyleSheet, View } from 'react-native';

const width = Dimensions.get('window').width;

const largeContainerSize = width / 2;

const largeImageSize = width / 4;

const styles = StyleSheet.create({

container: {

flex: 3,

justifyContent: 'center',

alignItems: 'center',

paddingVertical: 10

},

containerSize: {

width: largeContainerSize,

height: largeContainerSize,

alignItems: 'center',

justifyContent: 'center',

tintColor: 'grey'

},

imageSize: {

width: largeImageSize,

height: largeImageSize,

alignItems: 'center',

justifyContent: 'center',

position: 'absolute'

},

chosenImage: {

width: width / 1.25,

height: width / 1.25,

alignItems: 'center',

justifyContent: 'center',

position: 'absolute'

}

})

class PhotoComponent extends Component {

renderDefault() {

return (

<View style={styles.container}>

<Image

resizeMode='contain'

style={styles.containerSize}

source={require('../resources/background.png')}

/>

<Image

resizeMode='contain'

style={styles.imageSize}

source={require('../resources/camera.png')}

/>

</View>

)

}

renderImage() {

return (

<View style={styles.container}>

<Image

resizeMode='contain'

style={styles.chosenImage}

source={this.props.uri}/>

</View>

)

}

render() {

const displayImage = this.props.uri ? this.renderImage() : this.renderDefault()

return (

<View style={styles.container}>

{displayImage}

</View>

)

}

}

export default PhotoComponent;
App.js
import React, { Component } from 'react';

import Main from './src/screens/Main'

class App extends Component {

render() {

return <Main />

}

}

export default App;
Using the Camera in Expo
Instead of using creating an Expo project and using the code we already wrote, we will start from scratch. This is because Expo has an API for picking an image or taking one with the phone that we will be using. To read more about it, here is the link, http://docs.expo.io/versions/latest/sdk/imagepicker/.
We will create a new project using Expo and take most of the code we have written. The only thing that will change is the code for selecting the image.
Begin by closing everything that relates to the RNCamera project. We then use the Terminal to create a new Expo project, called ExpoCamera, using the following command.
expo init ExpoCamera
When prompted to choose a template, pick blank template. Then enter the name of the project and use Yarn if you have it.
Once the project is created, copy over the App.js and src folder from RNCamera to ExpoCamera project. Before running, we will need to remove a few things. Here are how the files will look like in your ExpoCamera project.
App.js
import React, { Component } from 'react';

import Main from './src/screens/Main'

class App extends Component {

render() {

return <Main />

}

}

export default App;
Main.js
import React, { Component } from 'react';

import { StyleSheet, View } from 'react-native';

import PhotoComponent from '../components/PhotoComponent';

import ButtonComponent from '../components/ButtonComponent';

const styles = StyleSheet.create({

container: {

flex: 1

}

})

class Main extends Component {

render() {

return (

<View style={styles.container}>

<PhotoComponent />

<ButtonComponent />

</View>

)

}

}

export default Main;
PhotoComponent.js
import React, { Component } from 'react';

import { Dimensions, Image, StyleSheet, View } from 'react-native';

const width = Dimensions.get('window').width;

const largeContainerSize = width / 2;

const largeImageSize = width / 4;

const styles = StyleSheet.create({

container: {

flex: 3,

justifyContent: 'center',

alignItems: 'center',

paddingVertical: 10

},

containerSize: {

width: largeContainerSize,

height: largeContainerSize,

alignItems: 'center',

justifyContent: 'center',

tintColor: 'grey'

},

imageSize: {

width: largeImageSize,

height: largeImageSize,

alignItems: 'center',

justifyContent: 'center',

position: 'absolute'

},

chosenImage: {

width: width / 1.25,

height: width / 1.25,

alignItems: 'center',

justifyContent: 'center',

position: 'absolute'

}

})

class PhotoComponent extends Component {

renderDefault() {

return (

<View style={styles.container}>

<Image

resizeMode='contain'

style={styles.containerSize}

source={require('../resources/background.png')}

/>

<Image

resizeMode='contain'

style={styles.imageSize}

source={require('../resources/camera.png')}

/>

</View>

)

}

renderImage() {

return (

<View style={styles.container}>

<Image

resizeMode='contain'

style={styles.chosenImage}

source={this.props.uri}/>

</View>

)

}

render() {

const displayImage = this.props.uri ? this.renderImage() : this.renderDefault()

return (

<View style={styles.container}>

{displayImage}

</View>

)

}

}

export default PhotoComponent;
ButtonComponent.js
import React from 'react';

import { StyleSheet, TouchableOpacity, View } from 'react-native';

import Icon from 'react-native-vector-icons/FontAwesome';

const styles = StyleSheet.create({

buttonContainer: {

flex: 1,

justifyContent: 'center',

alignItems: 'center'

},

buttonBorder: {

borderColor: 'grey',

borderWidth: 1,

justifyContent: 'center',

alignItems: 'center',

borderRadius: 35,

width: 70,

height: 70,

backgroundColor: 'grey'

},

})

const ButtonComponent = ({ onPress }) => (

<TouchableOpacity onPress={onPress} style={styles.buttonContainer}>

<View style={styles.buttonBorder}>

<Icon

name='plus'

size={35}

color='white'/>

</View>

</TouchableOpacity>

)

export default ButtonComponent;
Most of what was removed was related to react-native-image-picker. Now with that out the way, save the files and run the app.
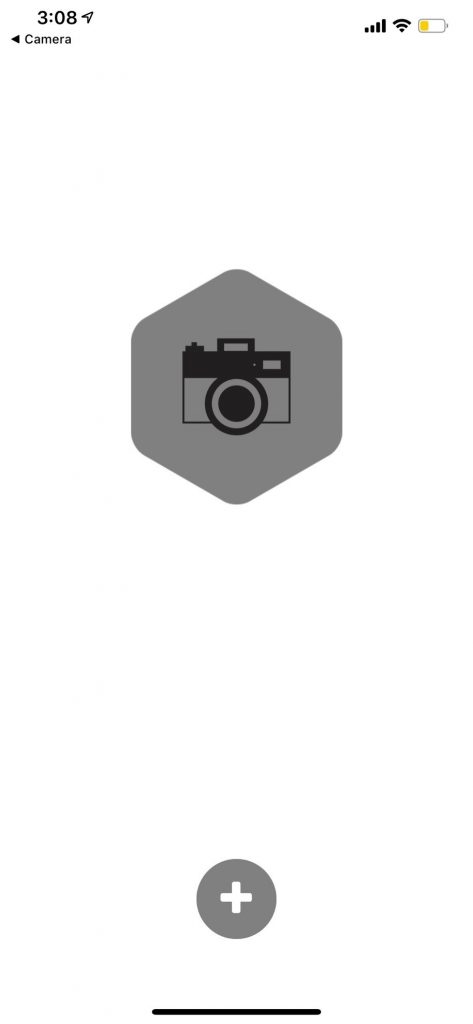
App looks great. Time to implement Expo’s ImagePicker API.
First thing we must do is install some Expo components. You will need to install Permissions, Constants, and ImagePicker by using the following command.
expo install expo-image-picker expo-permissions expo-constants
Then in Main.js, we will add the constructor with our state, upLoadSource. Then we will use a componentDidMount() function which will call another function called getPermissionAsync. This will be done to ask the user for their permission to gain access to the camera roll.
Then we will create a function called _pickImage, which will launch the camera roll and set upLoadSource to the source of the image we pick.
Last thing to do is to go to PhotoComponent and make a change to the Image component responsible for the photo we pick.
Main.js
import React, { Component } from 'react';

import { StyleSheet, View } from 'react-native';

import * as ImagePicker from 'expo-image-picker';

import Constants from 'expo-constants';

import * as Permissions from 'expo-permissions';

import PhotoComponent from '../components/PhotoComponent';

import ButtonComponent from '../components/ButtonComponent';

const styles = StyleSheet.create({

container: {

flex: 1

}

})

class Main extends Component {

constructor(props) {

super(props)

this.state = {

uploadSource: null

}

}

componentDidMount() {

this.getPermissionAsync();

}

getPermissionAsync = async () => {

if (Constants.platform.ios) {

const { status } = await Permissions.askAsync(Permissions.CAMERA_ROLL);

if (status !== 'granted') {

alert('Sorry, we need camera roll permissions to make this work!');

}

}

}

_pickImage = async () => {

let result = await ImagePicker.launchImageLibraryAsync({

mediaTypes: ImagePicker.MediaTypeOptions.All,

allowsEditing: true,

aspect: [4, 3],

});

console.log(result);

if (!result.cancelled) {

this.setState({ uploadSource: result.uri });

}

};

render() {

return (

<View style={styles.container}>

<PhotoComponent uri={this.state.uploadSource} />

<ButtonComponent onPress={this._pickImage}/>

</View>

)

}

}

export default Main;
PhotoComponent.js
renderImage() {

return (

<View style={styles.container}>

<Image

resizeMode='contain'

style={styles.chosenImage}

source={{uri: this.props.uri}}/>

</View>

)

}
Now save the files and reload the app.
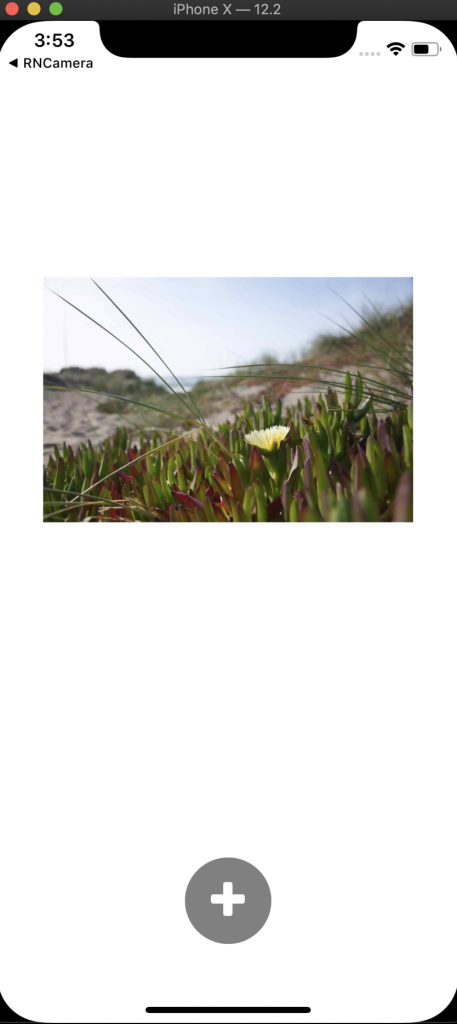
As you may have noticed, we can only select an image from the camera roll. This is because in _pickImage function, we are using launchImageLibraryAsync. This launches the camera roll and if we wanted to have an option to take a photo, we would need to add another permission request and another button to handle this.
Let’s create another button that will let us take a picture. In Main.js, copy ButtonComponent and paste it right below. We will be making changes to the onPress and will also pass it a prop for icon.
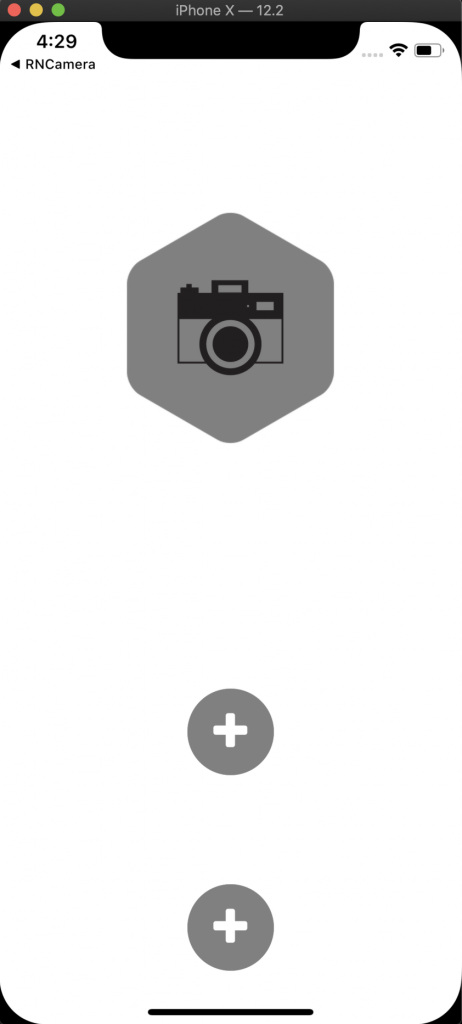
We got two buttons but that doesn’t look good. Wrap these buttons in a View component with flexDirection of row and paddingBottom of 40.
Main.js
render() {

return (

<View style={styles.container}>

<PhotoComponent uri={this.state.uploadSource} />

<View style={{ flexDirection: 'row', paddingBottom: 40 }}>

<ButtonComponent onPress={this._pickImage}/>

<ButtonComponent onPress={this._pickImage}/>

</View>

</View>

)

}
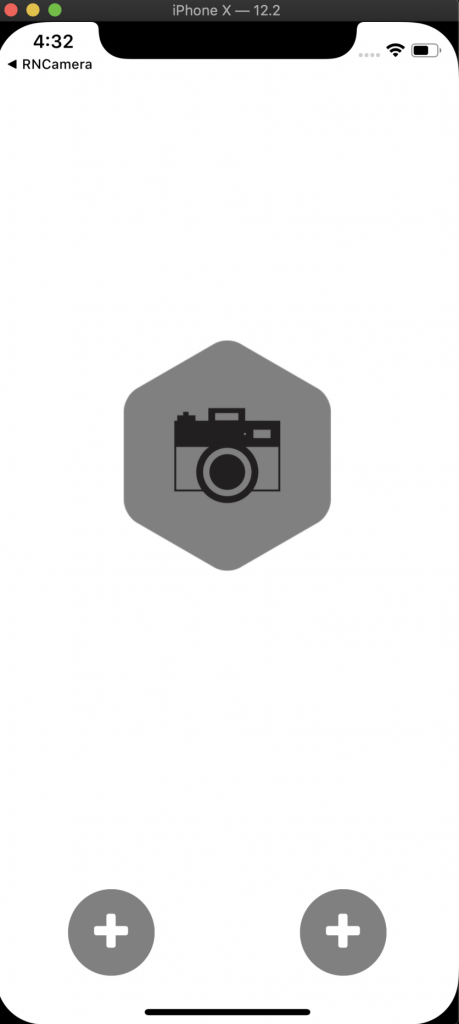
Much better. Time to make changes to the icons of these buttons. We will make the left button the camera button and will use a camera icon. For the right button, we will make it the gallery button and use an image icon.
Main.js
render() {

return (

<View style={styles.container}>

<PhotoComponent uri={this.state.uploadSource} />

<View style={{ flexDirection: 'row', paddingBottom: 40 }}>

<ButtonComponent onPress={this._pickImage} icon='camera'/>

<ButtonComponent onPress={this._pickImage} icon='image'/>

</View>

</View>

)

}
ButtonComponent.js
const ButtonComponent = ({ onPress, icon }) => (

<TouchableOpacity onPress={onPress} style={styles.buttonContainer}>

<View style={styles.buttonBorder}>

<Icon

name={icon}

size={35}

color='white'/>

</View>

</TouchableOpacity>

)
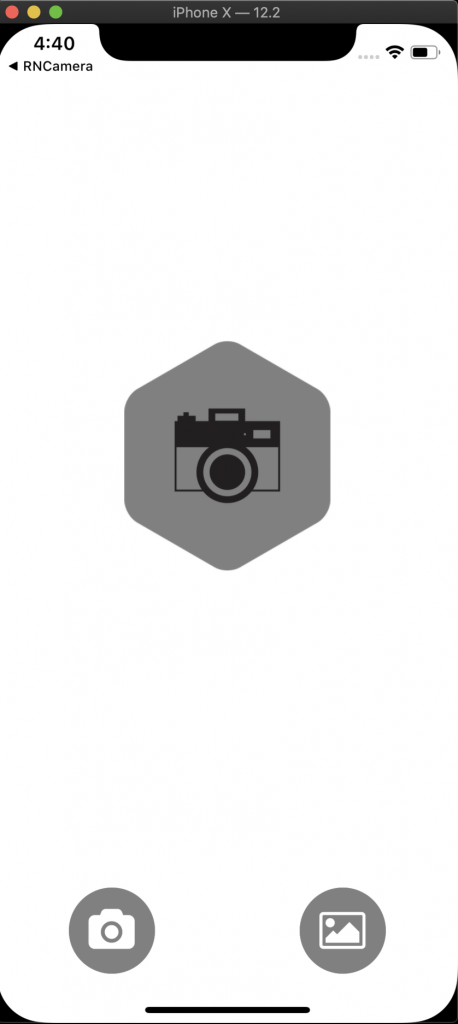
Great! The buttons look much better and the user can distinguish between the two. Time to work on onPress. For the second button we can leave it, but we need to create a new function for the other one. We also need to include another permission request.
Main.js
getPermissionAsync = async () => {

if (Constants.platform.ios) {

const { status } = await Permissions.askAsync(Permissions.CAMERA_ROLL, Permissions.CAMERA);

if (status !== 'granted') {

alert('Sorry, we need camera roll permissions to make this work!');

}

}

}
We add the request for camera right after the request for camera roll.
We will use _pickImage as a guide to create the _takePhoto function. We will replace launchImageLibraryAsync with launchCameraAsync.
Main.js
_takePhoto = async () => {

let result = await ImagePicker.launchCameraAsync({

mediaTypes: ImagePicker.MediaTypeOptions.All,

allowsEditing: true,

aspect: [4, 3],

});

console.log(result);

if (!result.cancelled) {

this.setState({ uploadSource: result.uri });

}

};
Last thing to do before running the app is to change the onPress of the first button. Then save the files and give it a try.
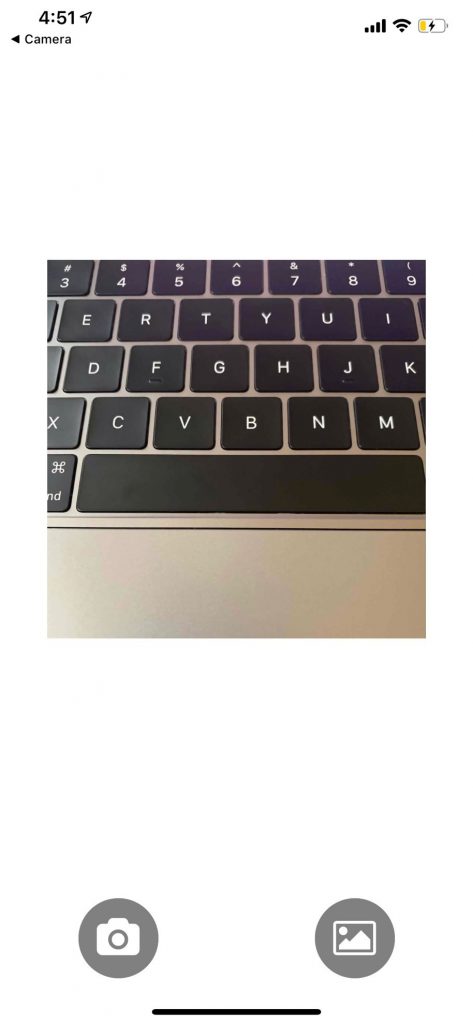
Perfect! It is working. We can use the left button to take photos, which can’t be done in the iOS simulator, or the right button to pick a photo from the camera roll.
Here is the code for the Expo project we just worked on.
Main.js
import React, { Component } from 'react';

import { StyleSheet, View } from 'react-native';

import * as ImagePicker from 'expo-image-picker';

import Constants from 'expo-constants';

import * as Permissions from 'expo-permissions';

import PhotoComponent from '../components/PhotoComponent';

import ButtonComponent from '../components/ButtonComponent';

const styles = StyleSheet.create({

container: {

flex: 1

}

})

class Main extends Component {

constructor(props) {

super(props)

this.state = {

uploadSource: null

}

}

componentDidMount() {

this.getPermissionAsync();

}

getPermissionAsync = async () => {

if (Constants.platform.ios) {

const { status } = await Permissions.askAsync(Permissions.CAMERA_ROLL, Permissions.CAMERA);

if (status !== 'granted') {

alert('Sorry, we need camera roll permissions to make this work!');

}

}

}

_pickImage = async () => {

let result = await ImagePicker.launchImageLibraryAsync({

mediaTypes: ImagePicker.MediaTypeOptions.All,

allowsEditing: true,

aspect: [4, 3],

});

console.log(result);

if (!result.cancelled) {

this.setState({ uploadSource: result.uri });

}

};

_takePhoto = async () => {

let result = await ImagePicker.launchCameraAsync({

mediaTypes: ImagePicker.MediaTypeOptions.All,

allowsEditing: true,

aspect: [4, 3],

});

console.log(result);

if (!result.cancelled) {

this.setState({ uploadSource: result.uri });

}

};

render() {

return (

<View style={styles.container}>

<PhotoComponent uri={this.state.uploadSource} />

<View style={{ flexDirection: 'row', paddingBottom: 40 }}>

<ButtonComponent onPress={this._takePhoto} icon='camera'/>

<ButtonComponent onPress={this._pickImage} icon='image'/>

</View>

</View>

)

}

}

export default Main;
ButtonComponent.js
import React from 'react';

import { StyleSheet, TouchableOpacity, View } from 'react-native';

import Icon from 'react-native-vector-icons/FontAwesome';

const styles = StyleSheet.create({

buttonContainer: {

flex: 1,

justifyContent: 'center',

alignItems: 'center'

},

buttonBorder: {

borderColor: 'grey',

borderWidth: 1,

justifyContent: 'center',

alignItems: 'center',

borderRadius: 35,

width: 70,

height: 70,

backgroundColor: 'grey'

},

})

const ButtonComponent = ({ onPress, icon }) => (

<TouchableOpacity onPress={onPress} style={styles.buttonContainer}>

<View style={styles.buttonBorder}>

<Icon

name={icon}

size={35}

color='white'/>

</View>

</TouchableOpacity>

)

export default ButtonComponent;
PhotoComponent.js
import React, { Component } from 'react';

import { Dimensions, Image, StyleSheet, View } from 'react-native';

const width = Dimensions.get('window').width;

const largeContainerSize = width / 2;

const largeImageSize = width / 4;

const styles = StyleSheet.create({

container: {

flex: 3,

justifyContent: 'center',

alignItems: 'center',

paddingVertical: 10

},

containerSize: {

width: largeContainerSize,

height: largeContainerSize,

alignItems: 'center',

justifyContent: 'center',

tintColor: 'grey'

},

imageSize: {

width: largeImageSize,

height: largeImageSize,

alignItems: 'center',

justifyContent: 'center',

position: 'absolute'

},

chosenImage: {

width: width / 1.25,

height: width / 1.25,

alignItems: 'center',

justifyContent: 'center',

position: 'absolute'

}

})

class PhotoComponent extends Component {

renderDefault() {

return (

<View style={styles.container}>

<Image

resizeMode='contain'

style={styles.containerSize}

source={require('../resources/background.png')}

/>

<Image

resizeMode='contain'

style={styles.imageSize}

source={require('../resources/camera.png')}

/>

</View>

)

}

renderImage() {

return (

<View style={styles.container}>

<Image

resizeMode='contain'

style={styles.chosenImage}

source={{uri: this.props.uri}}/>

</View>

)

}

render() {

const displayImage = this.props.uri ? this.renderImage() : this.renderDefault()

return (

<View style={styles.container}>

{displayImage}

</View>

)

}

}

export default PhotoComponent;
App.js
import React, { Component } from 'react';

import Main from './src/screens/Main'

class App extends Component {

render() {

return <Main />

}

}

export default App;
Awesome work! We create two projects, a RNCamera and ExpoCamera. These two projects use the phone’s camera to take pictures or the phone’s camera roll to display a photo on the screen. We learned how to get the user’s permission to gain access to the camera and camera roll, how to use icons with react-native-vector-icons, how to layer two images on top of each other, and how to display the photo we took or chose.
So where can you go from here? Play with the code. Change the size of the images. Or try using a video or taking a video. With what we have learned in this article you are on your way to creating an app with an awesome camera feature.

